

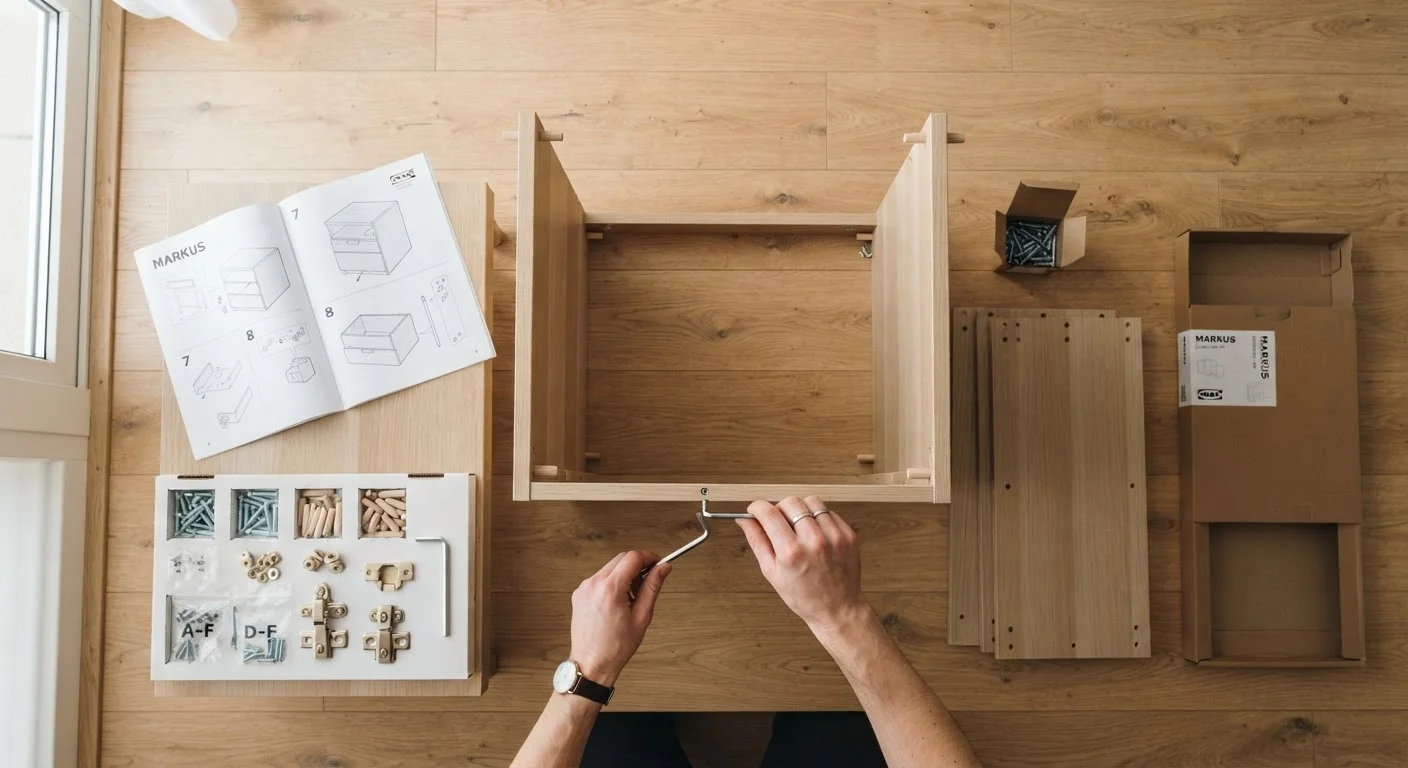
Key Takeaways
Why Flatpack Goes Wrong - and How to Change That
Flatpack furniture has a reputation for being frustrating, but the frustration almost always traces back to a handful of skippable mistakes: rushing the setup phase, ignoring the sequence, or over-tightening screws too early. The good news is that none of these problems are inevitable. With a few deliberate habits, you can move from box to finished piece efficiently - and end up with furniture that's actually stable.
This guide is for anyone setting up their own space for the first time. If you're also working through broader home setup tasks, the Weekend Project Checklist for First-Time Owners is a useful companion resource.
Read the entire instruction sheet before picking up any hardware.
Most assembly errors happen because a step later in the process contradicts an assumption made at the start. Scanning all steps first reveals these conflicts - such as needing to attach a back panel before the frame is upright - so you can plan around them.
Sort and count all hardware into groups before starting.
Missing a single dowel or cam nut mid-build forces you to disassemble a partially-joined structure, which risks damaging the particleboard. A two-minute inventory at the start eliminates this entirely.
Hand-tighten all connections first, then go back and firm everything up once the structure is square.
Fully tightening as you go locks in any slight misalignment, which compounds across the build. A loose-first approach lets you nudge panels into true position before anything is permanent.
Use the correct tool - typically an Allen key or a Pozidriv (cross-head) screwdriver - rather than forcing a substitute.
The wrong tool strips fastener heads almost immediately, making them impossible to tighten or remove later. A stripped cam lock or screw can structurally compromise the entire joint.
Protect panel surfaces by working on a soft mat or folded blanket.
Laminate and veneer surfaces scratch easily against hard floors. Scratches on visible faces are purely cosmetic, but gouges on joining surfaces can prevent panels from seating correctly.
Before You Open the Hardware Bag
The first fifteen minutes of an assembly project determine how the next hour goes. Taking a moment to prepare your workspace and inventory your parts pays dividends immediately.
Work on a clean, flat floor rather than a bed or sofa - soft surfaces let panels shift and hide how level your joins actually are. Carpet can be fine for protecting surfaces, but a hard floor gives you a truer picture of alignment.
Staying Accurate as You Build
Flatpack instructions are written for a reason, and the sequence matters more than most people expect. Cam locks - the circular disc-and-pin fasteners common in shelving and cabinet units - must be oriented correctly before you start inserting dowels, or the whole panel will sit slightly off. The instruction diagrams for these steps are usually the clearest in the booklet; slow down and read them carefully.
What Are Cam Locks?
Cam locks (also called cam-and-dowel fittings or Minifix connectors) are the round disc fasteners used in most flatpack cabinetry and shelving. A cylindrical pin screws into one panel, and a circular disc set into the adjoining panel rotates to grip the pin when turned with a screwdriver. They're designed for a specific orientation: the open slot on the disc face must point toward the pin before you click the panels together, or the lock won't engage properly. Instructions usually mark this with a small arrow - look for it before joining the panels.
When you reach the tightening stage, resist the urge to fully tighten each connection the moment it goes in. Work through the entire structure loosely first, check that everything is square and flush, and only then go back and snug everything down evenly. This is especially important for cam locks, which can crack the particleboard if over-driven. A good rule: hand-tight plus a half-turn is usually sufficient - stop before the hardware bites hard into the material.
For larger pieces like wardrobes or bed frames, a second set of hands is almost essential during the panel-joining stage. Awkward holds lead to misaligned holes, and misaligned holes lead to stripped connectors. Once you're finished, check that the piece is level using a small spirit level (a free smartphone app can substitute in a pinch), and adjust any adjustable feet before loading it with weight.
Building confidence with smaller home tasks adds up quickly. The Home Maintenance for Complete Beginners guide covers the broader upkeep habits worth developing alongside your assembly skills.