

Key Takeaways
What You'll Need
Before you start, take stock of your materials. The right tools make the difference between a repair you're proud of and one you keep repainting over. Below are the essentials - most are inexpensive and reusable across future projects.
What you will need
Putty knife (3-inch)
Used to apply and smooth spackling compound or joint compound over holes.
Spackling compound
Lightweight filler for small holes up to roughly half an inch in diameter.
Self-adhesive drywall patch
Provides a rigid backing for medium holes (1-4 inches) that spackling alone cannot bridge.
Sandpaper (120- and 220-grit)
Used progressively to smooth the repair flush with the surrounding wall surface.
Primer
Seals the repair so finish paint adheres evenly and doesn't flash (appear shiny or dull in patches).
Paint and small brush or roller
Finishes the repair to match the surrounding wall color and sheen.
Sanding block
Keeps sandpaper flat and even, preventing divots that uneven hand pressure can create.
Step-by-Step Repair Instructions
Follow these steps in order. Each stage depends on the previous one being complete and dry. Skipping ahead - especially on drying and priming - is what causes most visible patch failures.
Assess the hole and gather the right materials
Measure or estimate the hole diameter. Nail holes and small anchor pull-outs (under ½ inch) need only lightweight spackling compound. Holes between 1 and 4 inches typically need a self-adhesive mesh patch or a California patch (a piece of drywall with a paper face used as a backing). Anything larger than about 6 inches is better handled with a full drywall replacement panel - a more involved repair covered in a separate guide.
Clean and prep the damaged area
Use your putty knife or a finger to remove any loose drywall paper, crumbling edges, or old anchor hardware. Wipe away dust with a barely damp cloth and let the surface dry fully. Loose material left in place will prevent the filler from bonding properly and cause the repair to crack or fall out over time.
Apply filler or position your patch
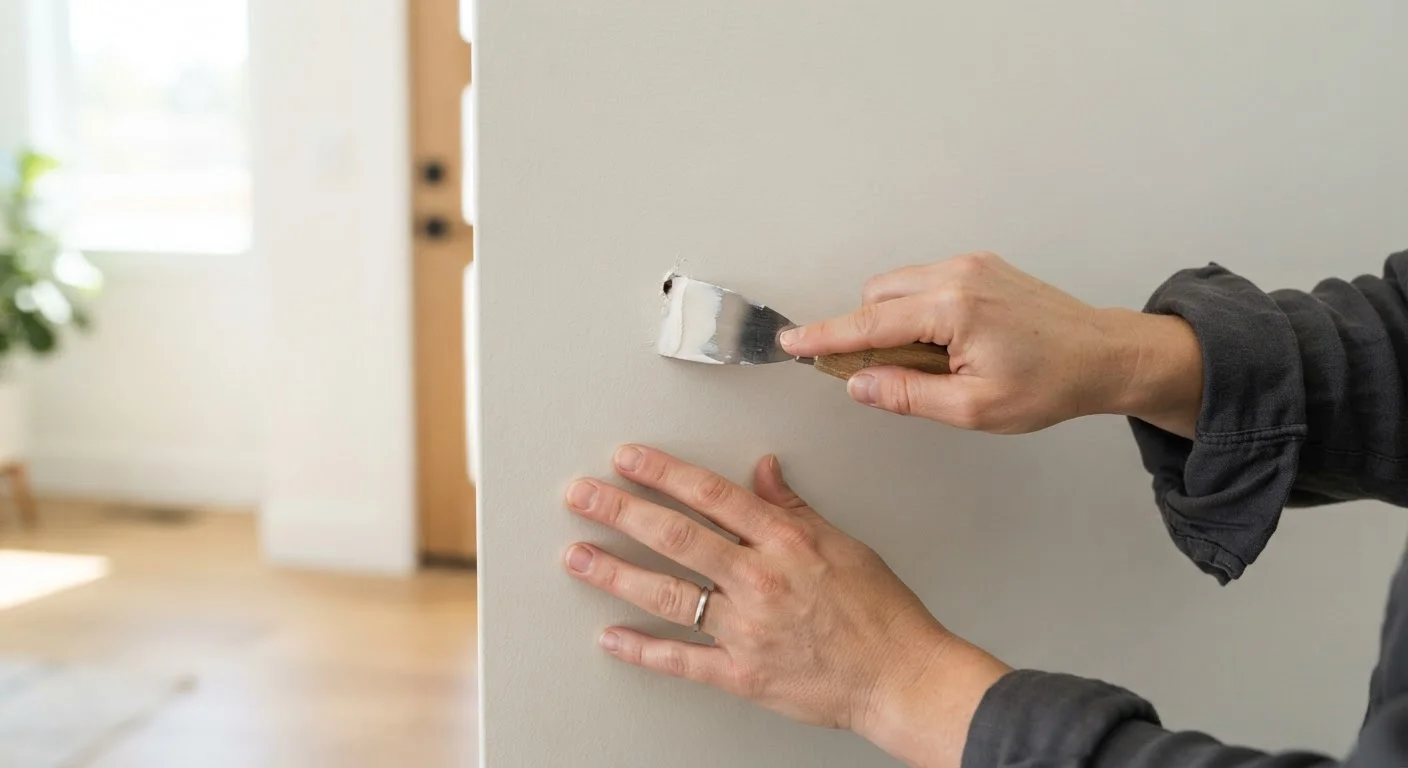
For small holes: Load a small amount of spackling compound onto your putty knife and press it firmly into the hole using a diagonal stroke. Overfill slightly - the compound shrinks as it dries. Smooth the surface as flat as possible.
For medium holes: Center a self-adhesive mesh patch over the opening and press it firmly to the wall. Apply joint compound over the mesh with a wider putty knife (6 inches works well), feathering the edges several inches beyond the patch to blend into the surrounding surface.
Allow to dry completely, then sand smooth
Follow the drying time on your product's label - typically 2-4 hours for spackling, longer for joint compound. Rushing this step is the most common beginner mistake. Once dry, sand with 120-grit sandpaper using a sanding block to flatten any ridges or high spots. Finish with 220-grit to smooth the surface. The goal is a repair you can't feel with your fingertips when you run them across the wall.
For medium patches, you may need a second thin coat of compound after the first has dried and been sanded - this is normal and expected.
Prime the repaired area
Apply a spot coat of primer to the repair and a few inches of the surrounding wall. A small foam roller or brush both work well for this. The primer seals the porous filler so it doesn't absorb finish paint at a different rate than the wall around it - a phenomenon called flashing that makes patches glaringly visible even under fresh paint.
Paint to match and blend
Once primer is fully dry (check the label - usually 30-60 minutes), apply your finish paint. Use the same sheen level as the surrounding wall - matte, eggshell, and satin each reflect light differently, so mismatching sheens can reveal a repair even when the color is perfect. Feather the paint out beyond the primed area to help it blend into the surrounding surface. Two thin coats typically produce a more even result than one heavy coat.
For more on achieving a clean finish across an entire room, see our guide to room painting prep.
Know When to Call a Professional
This guide covers holes up to roughly 4-6 inches in diameter in standard drywall. Damage near electrical outlets or plumbing, large structural cracks, or sagging sections indicate deeper problems that warrant a licensed professional's assessment. Never open walls near electrical wiring without first turning off the relevant circuit and confirming it's de-energized.
Test Your Paint Match First
Before rolling paint over the whole repair, dab a small amount on the patched area and let it dry completely - wet paint is always darker. Natural and artificial light both affect perceived color, so check the test patch at different times of day before declaring it a match.
Why Repairs Sometimes Look Worse Than the Hole
The most common complaint after a first repair attempt is that the patch is more noticeable than the original damage. Usually, this comes down to one of three issues:
- Flashing: Paint soaks into unprimed filler differently, leaving a dull spot. Always prime.
- Sheen mismatch: Using leftover eggshell paint on a satin wall (or vice versa) creates a visible difference in how the surface reflects light.
- Undertextured surface: Smooth patches on textured walls stand out. If your walls have orange peel or knockdown texture, a spray texture product can help replicate it before priming.
If you're also dealing with paint that's peeling or bubbling around the repaired area, that's a separate issue - our guide to peeling paint causes walks through the most common culprits and fixes.
Don't Skip the Primer Step
Applying finish paint directly over a spackled or patched area almost always results in a visible patch - the repair absorbs paint differently than the surrounding wall, creating a dull spot called flashing. A coat of primer, even just a spot coat, equalizes absorption and makes the color blend far more convincingly.
It's also worth noting that common DIY myths like skipping primer or assuming any paint will do are responsible for a lot of avoidable rework. A little extra time at each stage pays off visibly in the finished result.