

Key Takeaways
Peeling Paint Is a Symptom, Not Just a Surface Problem
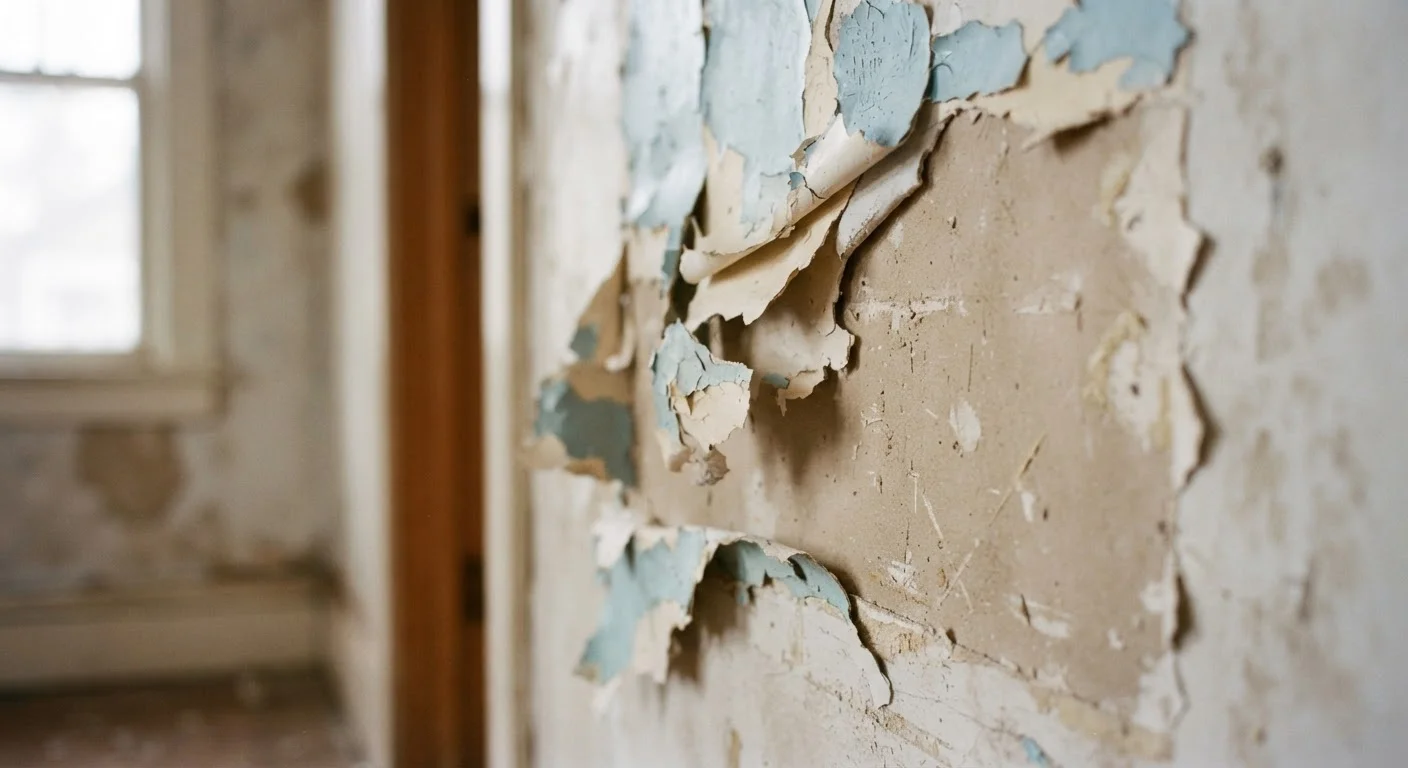
When paint starts lifting, bubbling, or flaking off your walls, the instinct is to grab a brush and cover it up. That's usually the wrong move. Peeling paint is your wall communicating something: moisture is getting in, adhesion was never established, or the surface underneath wasn't properly prepared. Paint over the problem without addressing it, and you'll be dealing with the same patch - often worse - within months.
The good news for first-timers is that most causes of peeling are preventable and correctable without professional help. The key is diagnosing the specific mistake before reaching for a roller. This article walks through the most common errors, why they happen, and exactly how to fix them. If your walls also have holes or gouges that need addressing before repainting, see our guide to patching wall holes without a contractor first.
When Moisture Is the Real Culprit
One category of peeling deserves special attention: moisture-driven failure. If you notice paint lifting primarily around windows, exterior walls, bathrooms, or ceilings, water infiltration is likely involved. This isn't a painting problem - it's a structural or ventilation problem that happens to show up as peeling paint.
Don't Paint Over Active Moisture
Repainting a wall that still has an active moisture source will result in rapid paint failure - often within weeks. Water vapor pushes through the paint film, breaking adhesion from behind. Always resolve the source of the moisture and confirm the wall is fully dry before applying any new primer or paint.
Before repainting any moisture-affected surface, confirm the water source has been eliminated. Check for leaks in roofing, plumbing, or window seals. In bathrooms and kitchens, ensure exhaust fans are functioning and vented to the outside rather than into the attic. Once the moisture source is removed and the wall is fully dry - which can take days to weeks - apply a moisture-blocking primer before repainting. Skipping this step virtually guarantees the new paint will fail in the same spot. Unusual wall symptoms can sometimes signal bigger issues; our article on reading your home's warning signs can help you determine when professional evaluation is warranted.
Setting Yourself Up for a Finish That Lasts
Once you've addressed the root cause, proper repainting technique is what locks in the result. Start by scraping away all loose and peeling paint using a stiff putty knife or paint scraper - don't paint over compromised areas. Sand the edges of scraped zones smooth so there's no ridge between the old paint and bare wall. Clean the surface to remove dust, grease, and any mildew (a diluted bleach solution works for mildew; let it dry completely).
Apply an appropriate primer to all repaired and bare sections. The primer you choose matters - a PVA (polyvinyl acetate) primer suits bare drywall, while a shellac- or oil-based primer is better for stain-blocking and high-moisture areas. Let primer cure fully per label directions, then apply thin, even paint coats. Two thin coats almost always outperform one thick coat in both coverage and longevity.
Choosing the right finish for the room also matters more than most beginners realize. Higher-sheen finishes like satin or semi-gloss are more moisture-resistant and washable - ideal for kitchens and bathrooms. Our guide to paint finishes breaks down what each option actually means in practice. For a complete prep routine that prevents mess and maximizes adhesion, see prep steps most people skip before painting.
~80%
Paint failures tied to poor surface prep
Industry painting guides consistently attribute the large majority of premature paint failures to inadequate surface preparation rather than paint quality.
24-48 hrs
Recommended dry time between coats
Most latex paint manufacturers recommend at least 24 hours between coats under normal temperature and humidity conditions for full film formation.