

Key Takeaways
Why Prep Work Determines Your Results
Most first-time painters focus their energy on choosing the right color or picking up a quality brush - but the truth is that the work you do before the roller ever touches the wall determines whether your result looks polished or patchy. A common misconception is that a second coat will fix any flaws from the first. In reality, paint amplifies surface problems rather than hiding them.
Understanding what can go wrong - and why - helps you approach prep with the right mindset. Grease, dust, and moisture on a wall prevent paint from bonding properly. Unpatched holes and cracks telegraph through even two coats. Skipped primer on fresh drywall causes uneven sheen. For a deeper look at myths that trip up beginners, see common DIY paint myths corrected.
80%
Of paint failures traced to surface prep
Paint manufacturers and professional painters commonly attribute the large majority of adhesion failures to inadequate surface preparation rather than paint quality.
2-3×
Longer repainting cycle with proper prep
Industry guidance consistently indicates that properly cleaned, primed, and prepared surfaces hold paint significantly longer than unprepared ones before requiring repainting.
The Prep Steps Most People Actually Skip
Time pressure and eagerness to see color on the wall push many people to rush preparation. Here are the specific steps that consistently get skipped - and why each one matters.
Wash the walls before doing anything else.
Walls accumulate grease, dust, and handprints that prevent paint from adhering properly. Even walls that look clean to the eye often carry enough surface residue to cause fisheye spots or peeling within months. A quick wash is the single highest-return prep step.
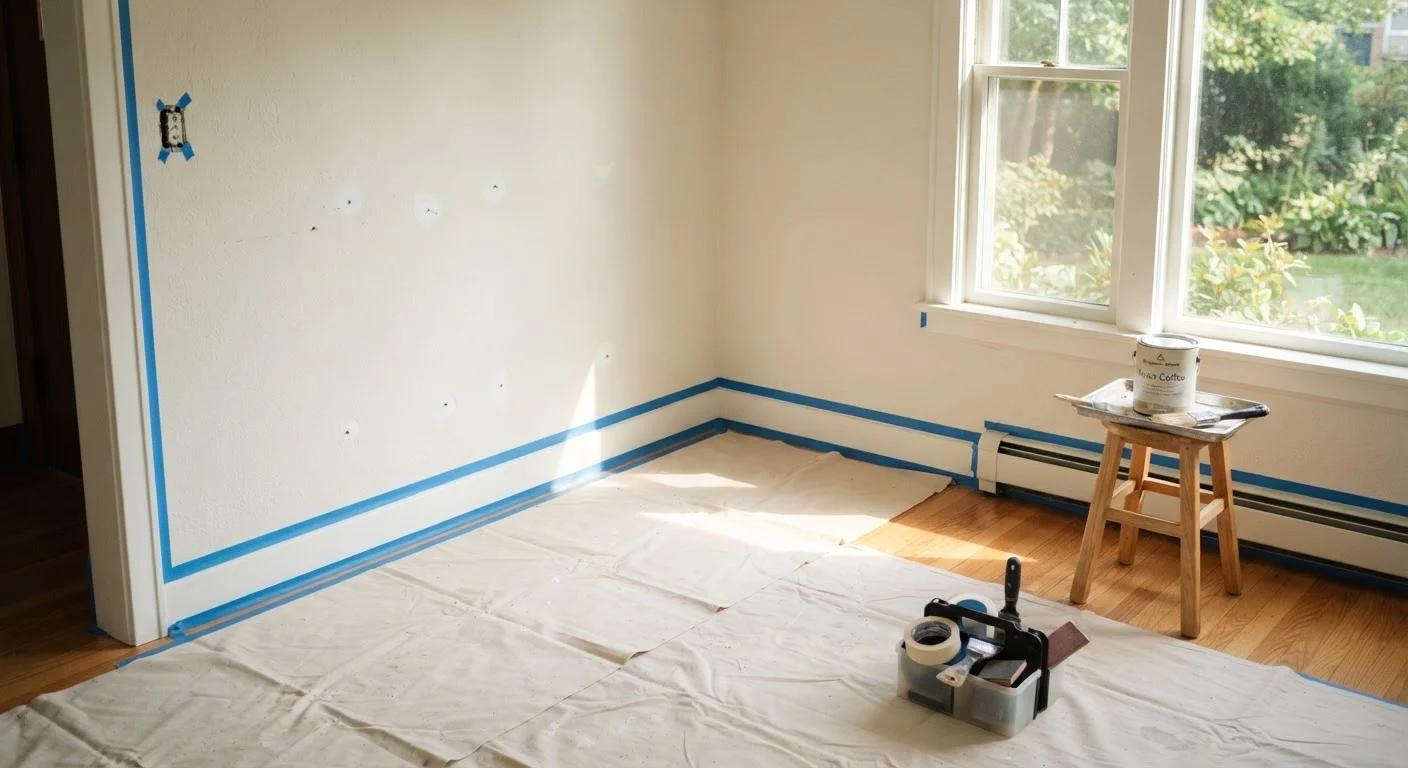
Fill every hole and crack, no matter how small.
Paint does not fill gaps - it bridges them temporarily, then cracks along the same lines. Even nail holes from picture frames will show through a fresh coat of flat or eggshell paint under certain lighting.
Sand any patched areas and scuff glossy surfaces.
Paint needs a slightly rough surface to grip. Glossy walls from previous paint jobs and smooth patches from spackle are equally prone to adhesion failure if not lightly abraded first.
Apply primer before painting over repairs or bare surfaces.
Primer seals porous surfaces and evens out absorbency so the topcoat lays down uniformly. Skipping primer over spackle patches is one of the most common reasons finished walls show visible 'holidays' - dull spots where the paint looks different.
Apply painter's tape slowly and press the edge firmly.
Rushing tape application - or skipping pressing down the inner edge - is how paint bleeds underneath and creates ragged lines along trim and ceilings. A clean edge is almost entirely a result of careful taping.
Remove outlet covers and switch plates before painting.
Taping around electrical fixtures is time-consuming and rarely produces clean edges. Removing the covers takes about 30 seconds per fixture and results in a far cleaner finish around every outlet.
Setting Up for a Clean, Low-Stress Paint Session
Even with perfect wall prep, a messy workspace creates new problems mid-project. Protecting your floors and furniture before you open a single can is just as important as what you did to the walls. Here are the fastest actions you can take right now to set yourself up for success.
If you find significant wall damage - like large cracks, soft spots, or signs of moisture - during your prep, it's worth pausing before you paint. Some wall issues point to structural or moisture problems that painting over will only mask temporarily. Our guide on when to DIY vs. call a pro can help you decide whether to proceed or get expert input.
When Paint Still Fails After Good Prep
Even well-prepped rooms can show peeling or bubbling paint down the line - usually because of an underlying issue that wasn't visible at the time. Humidity, poor ventilation, and previous coats of incompatible paint are common culprits. If you've already dealt with peeling walls or want to understand what causes it, learn why painted walls peel and how to fix it covers the most frequent causes and remedies in detail.
Good prep doesn't guarantee perfection, but it dramatically reduces the chance of rework. Think of these steps as a one-time investment: spend an extra hour now and avoid spending an entire weekend repainting in a few months.
When to Consult a Professional
If you discover soft or crumbling drywall, visible mold, or persistent moisture staining during prep, stop and investigate before painting. These can indicate ventilation problems, plumbing leaks, or structural moisture intrusion. Painting over them will not resolve the underlying issue and may make diagnosis harder later. A licensed contractor or home inspector can assess the cause.