

Key Takeaways
Why Small Bathrooms Are a Good Starting Point
At first glance, a cramped bathroom floor might seem harder to work in than a large room. In practice, the opposite is true for beginners. A small footprint - typically 35 to 50 square feet - means fewer tiles to cut, lower material costs, and a shorter project window. Mistakes are also easier to correct before they become expensive.
That said, a bathroom floor faces conditions most rooms don't: constant moisture, cleaning products, and foot traffic. Choosing the right tile type (porcelain and glazed ceramic are both moisture-resistant and widely used for floors) and using the correct mortar and grout matter more here than in a hallway or laundry room.
If you're new to DIY home maintenance in general, it helps to build foundational habits first. Our beginner's home maintenance guide gives helpful context before you take on a project like this.
What you will need
Planning, Layout, and Materials
Before buying anything, measure the floor carefully and sketch it on paper, including alcoves, the toilet base, and the vanity footprint. Multiply the square footage by 1.15 to 1.20 to get your tile quantity - that buffer covers cuts and any breakage. For a 40-square-foot floor, plan to purchase tiles covering roughly 46-48 square feet.
Once you have your tile, do a dry lay (also called a dry run): arrange tiles on the floor without adhesive to visualize the final pattern and identify where cuts will fall. Aim to center the layout so cut pieces at opposite walls are roughly equal in size. Avoid ending up with a sliver of tile along a doorway or in front of the vanity - these visible edges deserve a full or near-full tile.
Notched trowel
Spreads thin-set mortar in ridged lines that promote even tile adhesion.
Rubber grout float
Presses grout into tile joints at an angle without scratching the tile surface.
Wet saw or score-and-snap tile cutter
Makes straight and curved cuts in ceramic or porcelain tile for edges and obstacles.
Chalk line reel
Snaps straight reference lines on the subfloor to guide tile layout.
Tile spacers
Maintains consistent grout joint width between tiles during installation.
Rubber mallet
Seats tiles firmly and evenly into the mortar without cracking them.
Grout sealer
Applied after grout cures to protect joints from moisture and staining.
Choose a tile size proportional to the room. Tiles larger than 12×12 inches can overwhelm a very small bathroom and create more awkward cuts around the toilet and tub. A 6×6 or 12×12 inch tile in a simple grid or offset brick pattern is forgiving for first-timers.
Step-by-Step: From Subfloor to Grout
Prepare and inspect the subfloor
Remove any existing flooring, baseboards, and toilet if accessible. Inspect the subfloor for soft spots, water damage, protruding nails, or significant unevenness. Sand down high spots and fill low spots or gaps with floor-leveling compound. The subfloor must be structurally sound and flat to within 3/16 inch over a 10-foot span - a common industry benchmark for tile installations.
For most bathrooms, a cement backer board (such as cement board or fiber cement board) installed over the existing subfloor provides a stable, moisture-resistant tile base. Secure it with the appropriate screws and tape the seams with alkali-resistant mesh tape and thin-set mortar.
Find your center and mark your layout lines
Locate the center of the room by measuring and snapping chalk lines between opposite walls. These intersecting lines form a cross that guides your tile placement. Adjust the center point if your dry lay revealed that cut pieces would be too small along a prominent edge - doorways and vanity fronts are priority areas.
Mix and apply thin-set mortar
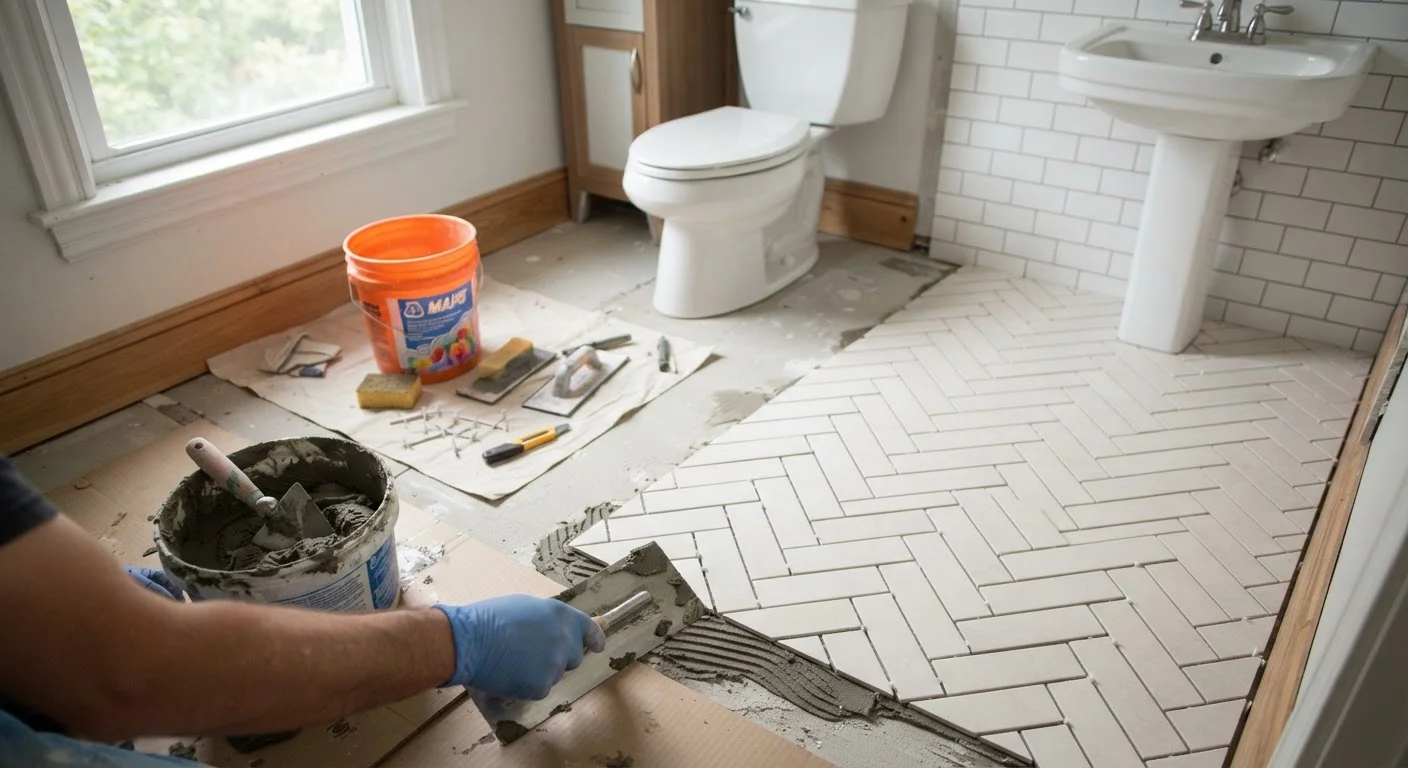
Mix thin-set mortar (a cement-based adhesive) to a peanut-butter consistency following the manufacturer's instructions. Using a notched trowel, spread mortar over a small section of the floor starting at your center point. Hold the trowel at a 45-degree angle to create even ridges - these ridges collapse under the tile to form a solid bond.
Set tiles and check for level
Press each tile firmly into the mortar using a slight twisting motion, then use a rubber mallet to bed it evenly. Insert plastic tile spacers at each corner to maintain consistent grout joint width - 1/8 inch is standard for most floor tiles. After every few tiles, lay a straightedge across them and check that the surface is flat and even. Make adjustments before the mortar starts to set.
Cut tiles for edges and obstacles
Measure each edge tile individually - bathroom walls are rarely perfectly straight, so don't assume all cuts along one wall are identical. Score-and-snap cutters handle straight cuts in ceramic tile; a wet saw (a power saw with a diamond-tipped blade and water cooling) is necessary for porcelain tile or any curved cuts around the toilet base.
Allow mortar to cure, then grout
Once all tiles are set, allow the mortar to cure for the full time specified on the packaging - typically a minimum of 24 hours, longer in cool or humid conditions. Remove tile spacers before grouting. Mix unsanded grout (for joints 1/8 inch or narrower) to a smooth consistency and apply it diagonally across the tiles using a rubber grout float, pressing it firmly into the joints.
After 10-15 minutes - once the grout has firmed slightly but not hardened - wipe the tile surfaces with a damp sponge in circular motions, rinsing frequently. A light haze may remain; buff it away with a dry cloth after the grout has cured for another 24 hours.
Common Mistakes and How to Avoid Them
The most frequent first-timer error is skipping subfloor preparation. Any flex, rot, or unevenness in the subfloor will telegraph through to your tile over time, causing cracks or loose tiles. If your subfloor moves when you press on it or shows any signs of water damage, address that before any tiling begins.
A second common mistake is applying too much adhesive at once, causing the mortar to dry before tiles are set. Work in manageable sections - roughly 3 to 4 square feet at a time. Also avoid walking on freshly set tiles before the mortar has cured; the packaging will specify the minimum wait time, which is typically 24 hours for most thin-set mortars.
Don't Skip Permits or Code Requirements
In many jurisdictions, bathroom renovation work - including subfloor replacement or modifications near plumbing - may require a permit or inspection. Requirements vary by location and project scope. Check with your local building department before starting, and verify any requirements with a qualified professional if you're unsure.
Finally, grouting too soon is a frequent source of failed tile jobs. Wait the full curing period specified on the mortar packaging before mixing or applying grout. The effort you've invested in layout and setting deserves a proper finish.