

Key Takeaways
Why Caulk Fails in the First Place
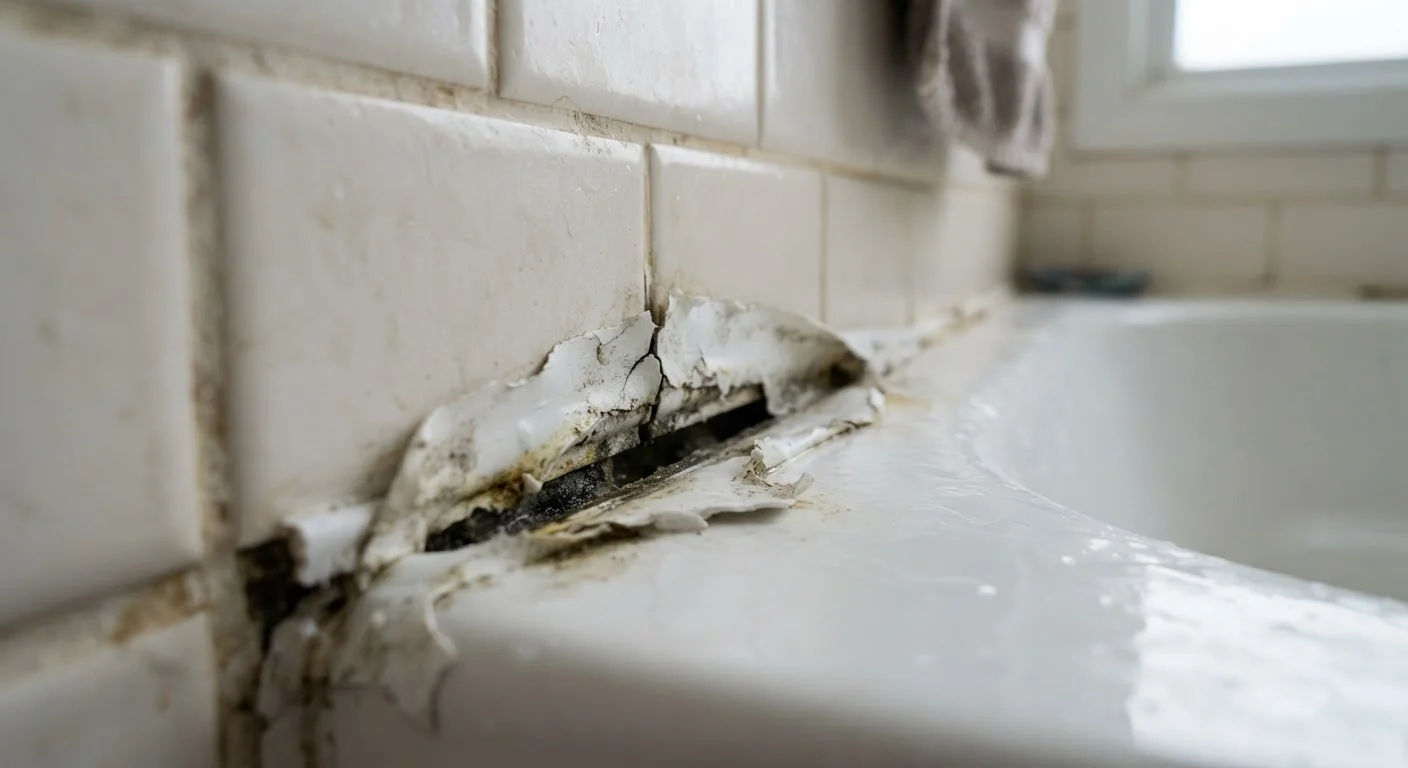
Caulk is a flexible sealant designed to bridge gaps between surfaces that expand, contract, and shift with temperature and moisture changes. That flexibility is also its weakness - over time, repeated movement causes the material to harden, crack, or pull away from the surfaces it was bonded to.
The most common culprits behind early caulk failure are heat and humidity cycling (especially in bathrooms and around exterior windows), prolonged moisture exposure, and cleaning products that break down the sealant's surface. Mold can also colonize caulk, eating into the material and creating channels for water to travel through.
Because degradation is gradual, it's easy to miss until the seal is already compromised. Reading your home's warning signs early - including discolored grout, soft drywall near tubs, or bubbling paint near windows - can help you trace problems back to a failed caulk joint before serious damage sets in. As a general rule, inspect all interior and exterior caulk lines at least once a year.
Water Damage Starts Silently
Failed caulk rarely announces itself with an obvious leak. Instead, water infiltrates slowly behind tiles, under flooring, or into wall cavities - often for months before visible damage appears. By the time you see a stain or smell mildew, structural damage may already be underway. Inspect caulk lines proactively rather than waiting for symptoms.
The Most Common Caulking Mistakes - and How to Avoid Them
Most caulk failures aren't random - they follow predictable patterns tied to a handful of recurring errors. Understanding these mistakes puts you in a position to fix them correctly the first time and avoid repeat failures.
Using the wrong type of caulk for the location.
Why it happens: Caulk products look similar on the shelf, and many beginners assume any caulk will work anywhere. Latex (acrylic) caulk is inexpensive and paintable but not waterproof enough for wet zones.
Applying new caulk directly over old, degraded caulk.
Why it happens: Removing old caulk is tedious work, so many people simply smooth a new bead on top. The result is a thick, uneven layer that bonds poorly and traps moisture underneath.
Skipping surface preparation and applying caulk to damp or dirty surfaces.
Why it happens: Caulk is often applied as a quick fix right after cleaning - when surfaces are still wet - or without removing soap scum, grease, or dust that prevents adhesion.
Ignoring high-risk areas outside the bathroom.
Why it happens: Most homeowners think of caulk as a bathroom concern, but exterior window frames, door thresholds, and the joint where siding meets trim are equally critical and often overlooked.
Not allowing caulk to cure before exposing it to water.
Why it happens: Caulk looks dry within an hour, which leads many people to use a freshly caulked shower or sink the same day. Most silicone caulk requires 24-48 hours to fully cure.
Never Caulk Over Mold or Damp Surfaces
Sealing over mold traps moisture and allows it to continue spreading behind the new caulk bead. Always remove old caulk, treat any mold with an appropriate cleaner, allow the surface to dry completely (at least 24 hours), and only then apply fresh caulk. Skipping this step virtually guarantees the new caulk will fail quickly.
One broader lesson worth carrying: small maintenance gaps compound quickly. A failed caulk line that would cost an hour to reapply can lead to subfloor rot or mold remediation that costs thousands. The principle applies across home systems - why skipping small repairs turns into large bills is a pattern that shows up in plumbing, roofing, and caulk alike.
How to Recaulk a Joint Properly
Once you've removed all old material and the surface is clean and dry, follow these steps for a lasting result:
- Cut the tip at a 45-degree angle - a small opening (roughly ⅛ inch) gives you better control than a wide cut and produces a neater bead.
- Apply steady, even pressure as you draw the gun along the joint in one continuous pass. Move at a consistent pace to avoid thin spots or blobs.
- Tool the bead immediately - use a wet finger or a caulk-smoothing tool to press the caulk firmly into the joint and create a slightly concave surface. This improves adhesion and sheds water more effectively than a rounded bead.
- Remove excess with a damp cloth before it skins over.
- Allow full cure time before any water exposure - check the label, but plan for 24-48 hours minimum for silicone products.
For exterior joints around windows or where siding meets trim, painter's tape on both sides of the joint helps keep lines clean and makes removal of excess material much easier.
~90%
Of water intrusion cases linked to failed seals
Building science professionals commonly note that the majority of residential water damage traces back to failed or missing sealants at joints and transitions, not structural failures.
5-10 years
Typical lifespan of quality silicone caulk
Silicone-based caulk in a stable, low-movement area may last up to a decade, but caulk in high-humidity or high-movement zones often needs replacement in half that time.