

Key Takeaways
Option A
Grout
The rigid, mineral-based filler for tile field joints.
Best for: Filling the gaps between tiles on flat, stable surfaces like floors and walls.
Option B
Caulk
The flexible, waterproof sealant for movement-prone joints.
Best for: Sealing transitions, corners, and any joint where two surfaces meet at an angle or shift independently.
If you're filling gaps between tiles on a flat shower wall or floor
Grout
Grout is formulated to fill tile-to-tile joints on stable, planar surfaces and provides a uniform, durable finish that resists foot traffic and cleaning.
If you're sealing where the tub deck meets the tiled wall
Caulk
This joint flexes as the tub fills with water and expands; only caulk can accommodate that movement without cracking and letting water seep behind tiles.
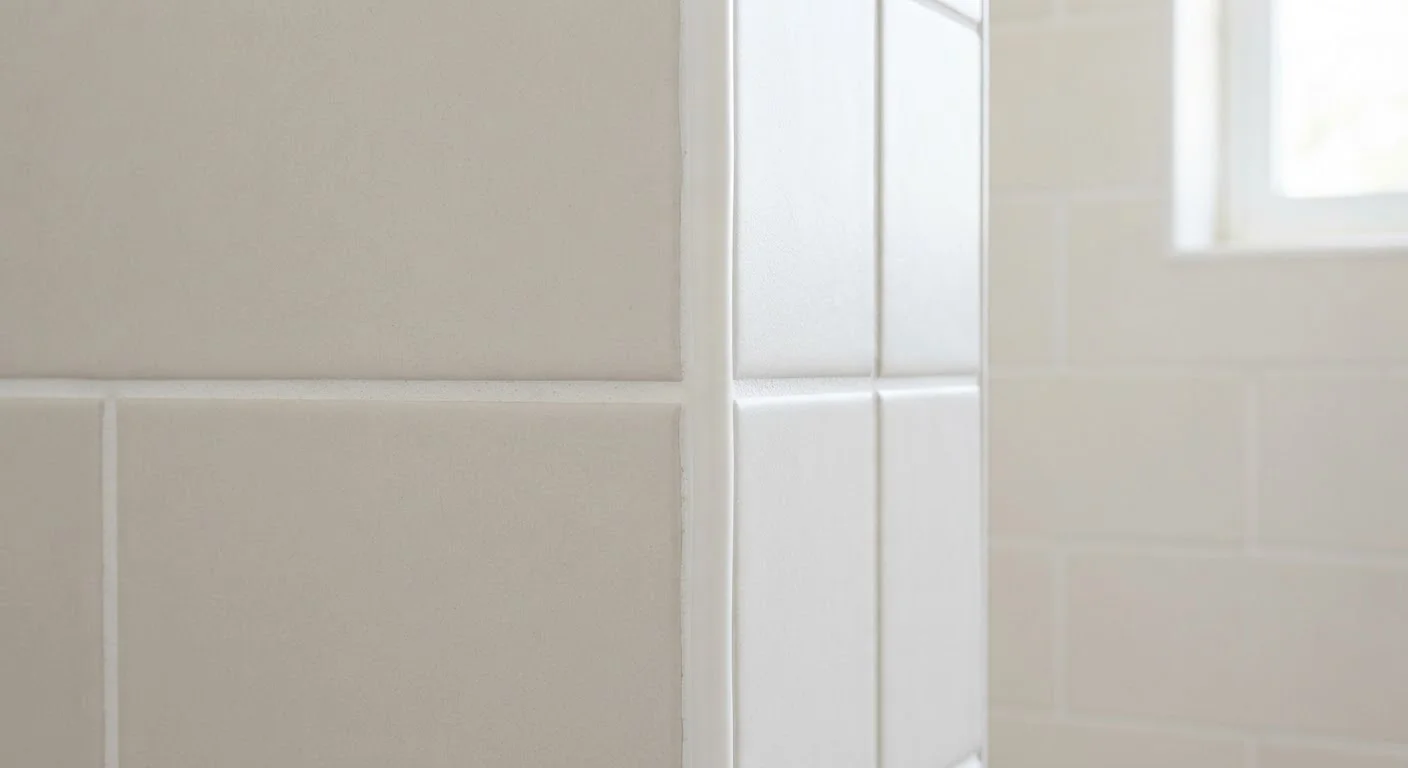
If you're finishing an inside corner where two tiled walls meet
Caulk
Inside corners are change-of-plane joints that shift independently; caulk absorbs that movement where rigid grout will crack and allow moisture intrusion.
If you're touching up a cracked joint in the middle of a tile field
Grout
Match the existing grout type and color for a seamless repair; caulk in a tile field collects grime differently and stands out visually over time.
Why the Distinction Actually Matters
At first glance, grout and caulk look nearly identical once applied - both fill the narrow gaps between surfaces in a bathroom. But they behave in completely opposite ways, and using one where the other belongs is one of the most common causes of early water damage in tiled bathrooms.
Grout is a cement-based (or epoxy-based) compound. It's rigid by design, bonds tile to tile across flat surfaces, and resists compressive loads. Caulk is a flexible, polymer-based sealant - it stretches and compresses slightly as building materials shift with temperature and moisture changes. That flexibility is precisely what makes it essential at certain joints and completely wrong at others.
For a deeper look at how caulk degrades and what to do when it does, see why caulking fails and how to fix it. And if you want to extend this comparison beyond the bathroom, grout vs. caulk across the whole home covers every common scenario.
| Criterion | Grout | Caulk |
|---|---|---|
| Composition | Cement or epoxy based | Silicone, latex, or acrylic polymer |
| Flexibility | Rigid - does not flex | Flexible - accommodates movement |
| Best location | Tile-to-tile joints, flat surfaces | Corners, transitions, change-of-plane joints |
| Water resistance | Good when sealed | Excellent (especially silicone) |
| Lifespan (typical) | 10-20 years with sealing | 5-10 years before re-application |
| DIY difficulty | Moderate - timing and mixing matter | Beginner-friendly with practice |
| Color options | Wide range of standard colors | Available in grout-matched shades |
Where Grout Belongs
Grout's job is to fill the joints between tiles - the thin, uniform lines you see running across a shower floor or up a tiled wall. These joints sit on the same plane, supported by the same substrate, and don't flex independently. That stability is what grout needs to stay intact.
There are two main types of cement grout to know:
- Unsanded grout - used for joints narrower than 1/8 inch; common on wall tiles with tight spacing.
- Sanded grout - contains fine sand for added strength; used for joints 1/8 inch wide or wider, such as floor tiles.
Epoxy grout is a third option - harder, stain-resistant, and more expensive - often used in high-moisture or commercial settings. For most residential bathrooms, standard cement grout is sufficient when properly sealed.
70%
Of bathroom water damage linked to failed seals
Industry estimates from tile and waterproofing professionals consistently attribute the majority of behind-tile moisture damage to deteriorated or incorrectly placed sealants.
5-10 yrs
Typical caulk lifespan in a wet bathroom
Most caulk manufacturers recommend inspecting bathroom caulk annually and expect replacement every five to ten years depending on product type and exposure.
1/8 in.
Joint width threshold between sanded and unsanded grout
Standard tile industry guidelines recommend unsanded grout for joints under 1/8 inch and sanded grout for wider joints to prevent shrinkage cracking.
Where Caulk Belongs
The rule of thumb used in the tile industry is simple: any joint where two surfaces meet at a change of plane should be caulked, not grouted. In a bathroom, that includes:
- The joint where the bathtub or shower base meets the tiled wall
- All inside corners where two tiled walls intersect
- Where tile meets a countertop or vanity
- The joint between a tile floor and baseboard or trim
When a tub fills with water, it can deflect slightly under the added weight. When shower walls heat up, they expand. Those micro-movements add up - and rigid grout simply cracks under the repeated stress. A cracked grout joint at the tub-to-wall seam is an open invitation for water to migrate behind the tile and into the substrate.
For these joints, silicone caulk is generally the most water-resistant choice. Latex or acrylic caulk is easier to apply and tool (smooth into shape), and paintable, but silicone holds up better in fully wet zones like the inside of a shower enclosure. Color-matched caulk is widely available and can be selected to blend closely with most grout shades.
Applying Each Material Correctly
Correct application makes the difference between a joint that lasts years and one that fails within months. Both materials require surfaces that are completely clean, dry, and free of old residue before you begin.
Applying Grout
- Mix grout to a peanut butter consistency (for powder grout) or open pre-mixed grout.
- Press grout into joints diagonally using a rubber grout float, working in small sections.
- Wipe excess off tile faces with a damp sponge in circular motions before it hardens.
- Allow full cure time before exposing to water - typically 24-72 hours depending on the product.
- Apply a penetrating grout sealer once cured to improve moisture resistance.
Applying Caulk
- Remove all old caulk completely; a caulk remover tool helps get into corners cleanly.
- Clean the joint with rubbing alcohol and let it dry fully - even residual moisture can prevent adhesion.
- Cut the caulk tube tip at a 45-degree angle, matching the joint width.
- Apply steady, even pressure as you draw the tube along the joint in one continuous pass.
- Smooth the bead immediately with a wet finger or caulk tool, then leave undisturbed for the cure time listed on the tube.
Never grout over an existing caulk line - the two materials don't bond to each other, and the grout will crack away quickly.