

Key Takeaways
Why Container Gardening Works for Small Spaces
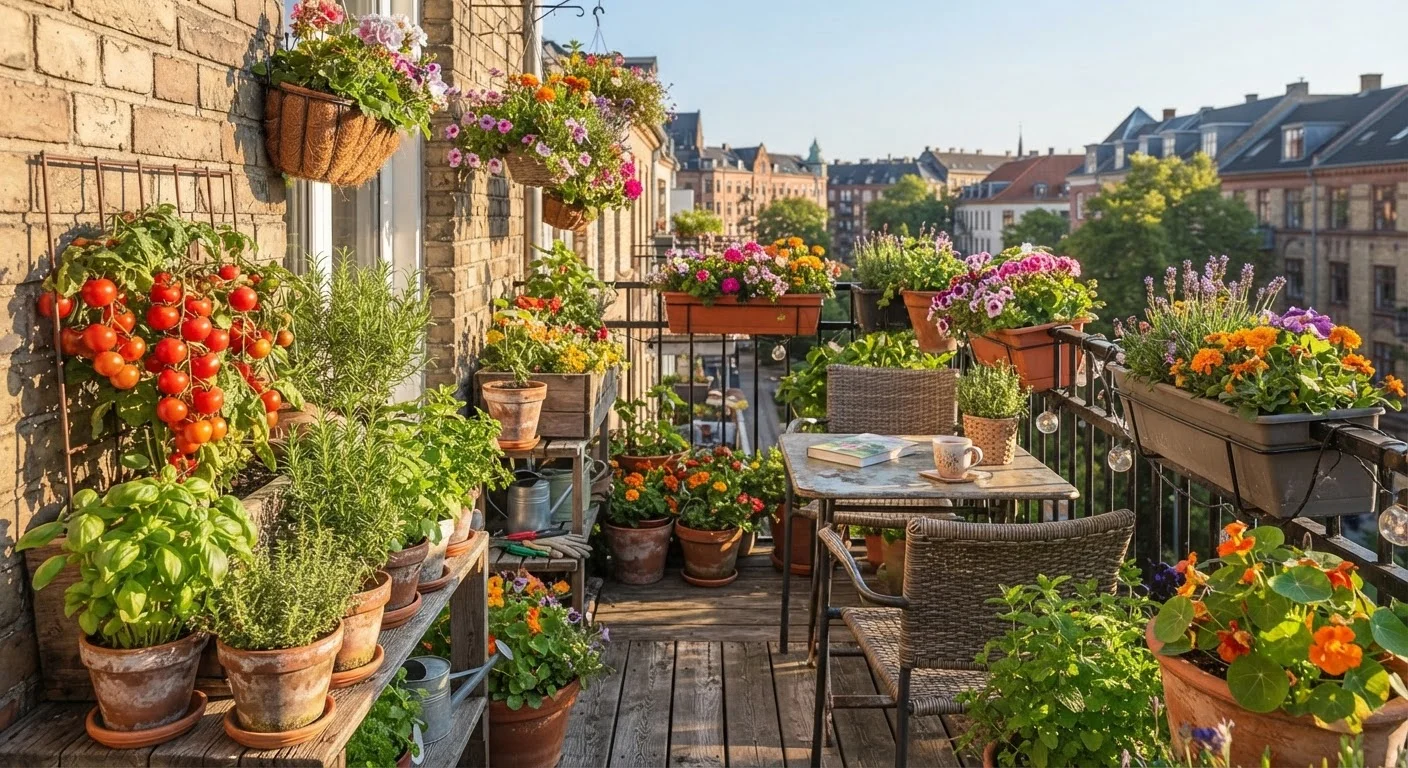
A balcony, patio, or even a sunny windowsill is enough space to grow a meaningful amount of fresh food and greenery. Container gardening - growing plants in pots, planters, window boxes, or other vessels rather than directly in the ground - removes the two biggest barriers beginners face: lack of land and unpredictable soil quality. You control everything in the pot: the growing medium, the drainage, and the placement.
This approach also sidesteps many of the challenges covered in our raised beds vs. ground planting comparison, making it the most accessible entry point for new gardeners with limited outdoor space. The trade-off is that containers require more attentive watering and feeding than in-ground beds - but that's a manageable commitment once you establish a routine.
What you will need
What You'll Need Before You Start
Gathering the right materials upfront avoids mid-project trips to the store and sets your plants up for success from day one. Below are the essentials and a few optional upgrades.
Containers with drainage holes
Hold the growing medium and allow excess water to escape, preventing root rot.
High-quality potting mix
Provides the aeration, nutrients, and moisture retention that container plants need - garden soil compacts and is unsuitable.
Saucers or drip trays
Catch drainage water to protect balcony surfaces and meet building requirements.
Watering can with a narrow spout
Delivers water precisely to the soil surface without washing away potting mix or wetting foliage unnecessarily.
Liquid fertilizer
Replenishes nutrients in potting mix after the first six to eight weeks of growth.
Trowel
Makes planting and transplanting seedlings much easier than using your hands alone.
Pot feet or risers
Lift containers slightly to improve drainage and prevent staining of balcony tiles or decking.
Self-watering inserts or reservoirs
Extend the time between waterings, useful for people who travel or have irregular schedules.
Step-by-Step: Setting Up Your Container Garden
Follow these steps in order. Each one builds on the last, and skipping ahead - particularly the drainage and soil steps - is the most common reason beginner container gardens struggle.
Assess your sunlight honestly
Stand on your balcony or patio at different times of day and note how many hours of direct sun the space receives. Most vegetables and herbs need 6+ hours of direct sun. Salad leaves, mint, and parsley tolerate 4 hours. Shade-tolerant plants like ferns and begonias manage with even less. Buying sun-loving plants for a shady spot is the single most common beginner mistake.
Choose the right container size
Match pot size to the plant's root system. As a general guide:
- Herbs (basil, chives, thyme): 6-8 inch pots or a single window box
- Lettuce and salad greens: 8-12 inch pots or a long trough
- Tomatoes and peppers: At least 12-15 inch pots; larger is better
- Dwarf fruit trees or larger shrubs: 18+ inch containers
A container that's too small restricts root growth and leads to frequent wilting even with regular watering.
Ensure proper drainage
Every container must have at least one drainage hole. If yours doesn't, drill holes in the base before filling it. Place a piece of mesh or a coffee filter over each hole to prevent potting mix from washing through, then add your soil. Do not add a layer of gravel at the bottom - research has shown this actually impedes drainage rather than improving it.
Fill with potting mix and plant
Fill the container to within 1-2 inches of the rim with a quality potting mix - not garden soil or topsoil, which compacts and drains poorly in containers. Create a small well in the center, remove your plant from its nursery pot, loosen the roots gently, and set it at the same depth it was growing before. Fill in around the roots, firm lightly, and water thoroughly.
Position your containers strategically
Place pots where they'll receive the sunlight hours you assessed in Step 1. Group containers of similar water needs together to simplify your watering routine. If your balcony is exposed to strong wind, position taller plants or climbing varieties against a wall or use a trellis for support - wind accelerates moisture loss and can topple unsecured pots.
Start With Just Two or Three Containers
Beginning with a small herb pot, a salad trough, and one feature plant like a dwarf tomato gives you a manageable routine while you learn how your space behaves. You can always add more containers next season once you've seen what thrives in your specific conditions. This approach also makes it much easier to diagnose problems early.
Keeping Your Container Garden Healthy
Once your containers are planted, ongoing care comes down to three habits: watering, feeding, and monitoring.
Watering: Push your finger about an inch into the soil. If it feels dry at that depth, water thoroughly until it drains from the bottom. In summer heat, pots may need watering daily. Lightweight pots or pots that feel very light when lifted are usually dry.
Feeding: Potting mix contains nutrients that deplete within six to eight weeks. After that point, a balanced liquid fertilizer (one with roughly equal nitrogen, phosphorus, and potassium values on the label) applied every two weeks keeps plants producing. This is especially important for fruiting plants like tomatoes and peppers.
Pest and disease checks: Inspect leaves weekly - top and underside. Yellowing leaves often indicate overwatering or nutrient deficiency; wilting despite moist soil can point to root rot. Catching problems early keeps them manageable.
For a month-by-month maintenance schedule that pairs well with container growing, our beginner gardening calendar is a practical companion resource. If you want to reduce fertilizer costs over time, our guide to composting kitchen scraps explains how to make your own nutrient-rich additions for free.
Overwatering Is the Leading Cause of Container Plant Death
More container plants die from too much water than too little. Always test the soil before watering rather than watering on a fixed schedule. Soggy soil deprives roots of oxygen and promotes fungal diseases that are difficult to reverse. If in doubt, wait a day and check again.