

Key Takeaways
Why Composting Is Worth Starting Now
Composting is one of the most impactful and low-cost things a home gardener can do. Instead of sending food scraps to landfill - where they decompose without oxygen and produce methane - you redirect them into a process that creates a genuinely useful soil amendment. Finished compost improves soil structure in clay-heavy and sandy soils alike, encourages earthworm activity, and feeds plants with a slow-release supply of nutrients.
For anyone getting started with gardening, compost is a natural companion. If you're working through a first-timer's complete roadmap or trying to understand what kind of soil your garden needs, making your own compost gives you a free, renewable way to improve almost any growing situation over time.
The barrier to starting is lower than most people expect. You don't need expensive equipment, a large yard, or specialist knowledge - just a consistent habit and a basic understanding of what goes in the pile.
Compost bin or container
Holds and contains your composting material; can be purchased or built from pallets or wire mesh.
Garden fork or compost aerator
Used to turn and aerate the pile, which speeds up decomposition.
Kitchen scrap collector (countertop bin)
Collects daily food scraps before they are transferred to the outdoor compost bin.
Thermometer (compost or soil type)
Measures internal pile temperature to confirm active decomposition is occurring.
Watering can or hose
Adds moisture to a dry pile to maintain the right level of dampness for decomposition.
How to Set Up and Run Your Compost System
Follow these steps to get a working compost system up and running. Most beginners can complete the initial setup in under an hour, and day-to-day management takes only a few minutes.
What you will need
Keep a Small Bin in Your Kitchen
A countertop container with a lid lets you collect scraps throughout the week without repeated trips to the outdoor bin. Empty it every two to three days to prevent odors. Compostable liner bags can make this even easier to manage.
Choose and position your compost bin
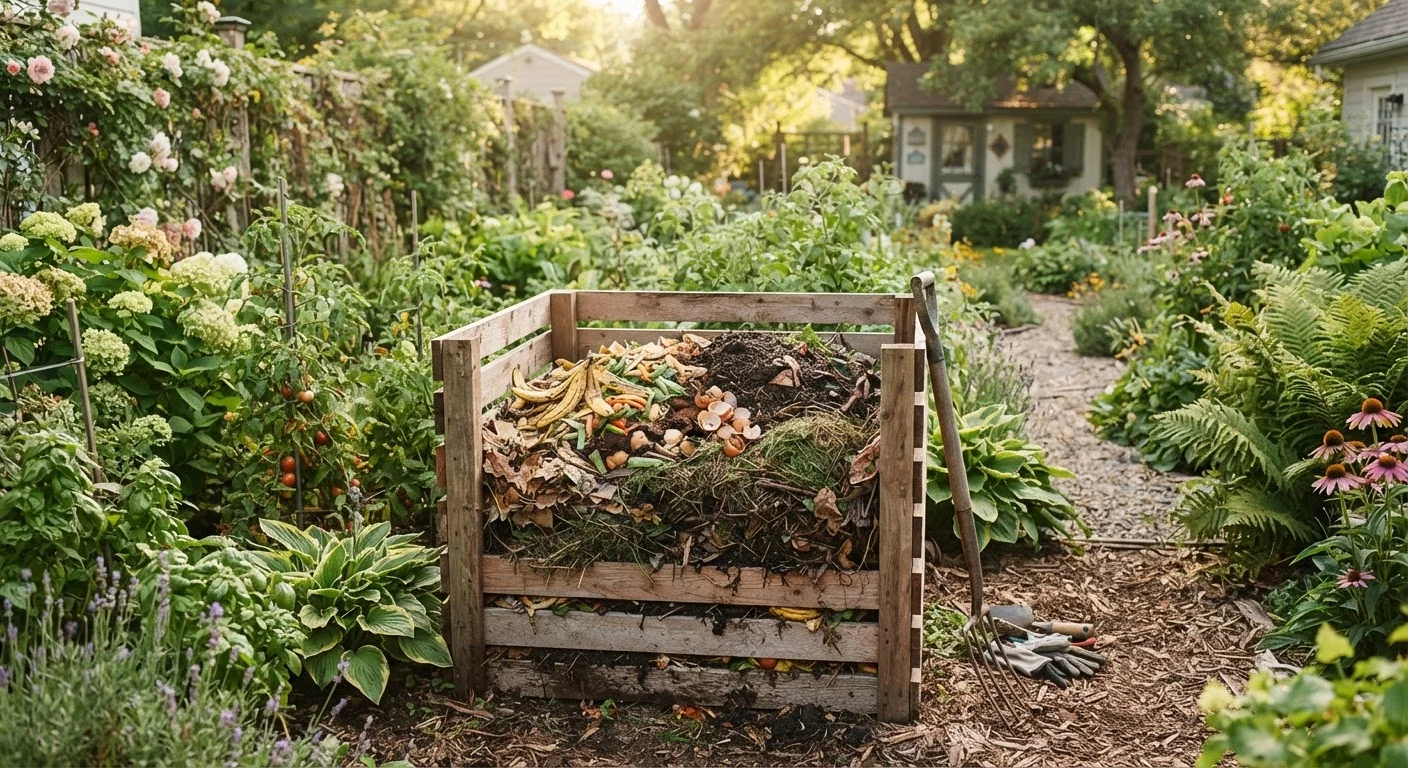
Select a spot that gets partial sun and sits directly on soil or grass rather than concrete - this allows worms and beneficial microbes to enter from the ground. A shaded spot slows decomposition; full sun dries the pile out too quickly. If you have limited space, a compact plastic tumbler bin works well on hard surfaces since it has a sealed base.
Bins can be purchased ready-made or built cheaply from reclaimed wood pallets or wire mesh formed into a cylinder. A minimum volume of around 1 cubic yard (roughly 3 ft × 3 ft × 3 ft) helps the pile retain enough heat to decompose efficiently.
Understand what goes in - and what stays out
Composting works through the interaction of two categories of material:
- Browns (carbon-rich): dry leaves, cardboard torn into pieces, paper bags, straw, wood chips, and egg cartons.
- Greens (nitrogen-rich): vegetable and fruit scraps, coffee grounds and filters, tea bags (without staples), fresh grass clippings, and plant prunings.
A rough target ratio is two to three parts browns for every one part greens by volume. Too many greens and the pile turns slimy; too many browns and decomposition slows significantly.
[important_callout]Build the initial layers
Start with a 4-6 inch layer of coarse browns at the base - woody twigs or wood chips work well here because they create airflow at the bottom. Then alternate layers of greens and browns, ending with a brown layer on top to reduce odors and deter flies.
Water each layer lightly as you go so the pile starts with the right moisture level from the beginning. You don't need to be precise - think of it as lightly dampening each addition rather than soaking it.
Add scraps regularly and maintain the balance
Each time you add kitchen scraps (greens), cover them with a layer of browns. This one habit alone prevents most common composting problems - odors, flies, and a soggy pile. Keep a bag or bin of dry leaves nearby so you always have browns on hand when you need them.
If you run out of leaves in warmer months, shredded cardboard or torn-up paper is a reliable substitute.
Turn the pile to accelerate decomposition
Turning the pile introduces oxygen, which feeds the aerobic microbes doing the decomposition work. Aim to turn your pile every one to two weeks for fastest results, or as infrequently as once a month if you prefer a low-effort approach (finished compost will just take longer - up to six months or more).
Use a garden fork to move material from the outside of the pile toward the center, where temperatures are highest. This ensures all material eventually passes through the hot core where decomposition is most active.
Recognize finished compost and use it
Finished compost looks dark brown, crumbles easily, smells earthy (like forest soil), and no longer resembles its original ingredients. The process typically takes two to six months depending on how actively you manage the pile, your local climate, and the materials used.
To use it, simply dig compost into your planting beds, mix it into potting soil, or spread a thin layer across an established lawn. Even a small amount meaningfully improves soil structure, drainage, and nutrient availability - which is why gardeners call it 'black gold.'
Watch Your Moisture Levels
A pile that is too wet will become slimy and anaerobic, producing a foul smell. Too dry, and decomposition stalls entirely. The pile should feel like a wrung-out sponge - damp but not dripping. If it smells like ammonia or rotten eggs, adjust the balance before adding more material.
Once you have a steady rhythm, composting becomes almost automatic. The material you produce pairs especially well with container-based growing - see our guide to growing plants in containers on a balcony or small patio for ideas on putting your compost to work in a limited space. If you want to compare composting to other soil-improvement approaches, our article on garden mulch trade-offs offers a useful counterpoint.