

Key Takeaways
Why Wiper Blades Fail Faster Than You Think
Wiper blades are made from natural or synthetic rubber - a material that degrades continuously from UV exposure, temperature swings, road grime, and the mechanical stress of each wipe cycle. Most manufacturers recommend replacement every six to twelve months, but many drivers go years without changing them, only noticing the problem when visibility drops during heavy rain.
Heat is a particularly aggressive factor. Summer temperatures can warp the rubber edge so it no longer sits flat against the glass. Winter introduces a different hazard: blades left in freezing temperatures become rigid and lose their ability to conform to the windshield curve. This is why seasonal checks matter - see the seasonal car checks guide for a full pre-season vehicle checklist.
Another common mistake: using wipers to clear light frost or dry debris. This tears the rubber edge within a single season. Building awareness of these habits is part of the broader preventive maintenance habits that keep repair costs low over time.
Compromised Wipers Are a Safety Risk
Reduced visibility during rain is a leading factor in wet-weather crashes. If your wipers streak or skip across the windshield, your reaction time is effectively cut because you cannot see the road clearly. Do not delay replacement until the next scheduled service - blades are inexpensive and take minutes to swap out.
What to Look For and What You'll Need
Before starting, gather what you need and do a quick visual assessment.
Replacement wiper blades
The core replacement part - match to your vehicle's make, model, and year for correct fit.
Soft cloth or microfiber towel
Used to clean the windshield and the new blade edge before installation.
Windshield washer fluid
Spray and wipe the glass clean before testing new blades to avoid premature wear.
Owner's manual
Confirms the correct blade sizes for your specific vehicle and wiper arm attachment type.
What you will need
Match Blade Length to Your Vehicle's Specs
Driver and passenger blades are often different lengths, and the rear blade is different again. Check your owner's manual or the reference guide at an auto parts store before purchasing. Installing the wrong size reduces coverage and can cause blades to collide.
The most overlooked blade is the rear wiper. If your vehicle has one, it operates in a low-airflow zone that accumulates grime quickly and is rarely inspected. Treat it with the same attention as the front pair. Wiper blade inspection is also a natural part of the pre-drive safety check routine that new drivers should build early.
Step-by-Step: Checking and Replacing Your Wiper Blades
Follow these steps in order. The full process takes under 20 minutes for most vehicles and requires no special tools.
Inspect your current blades in daylight
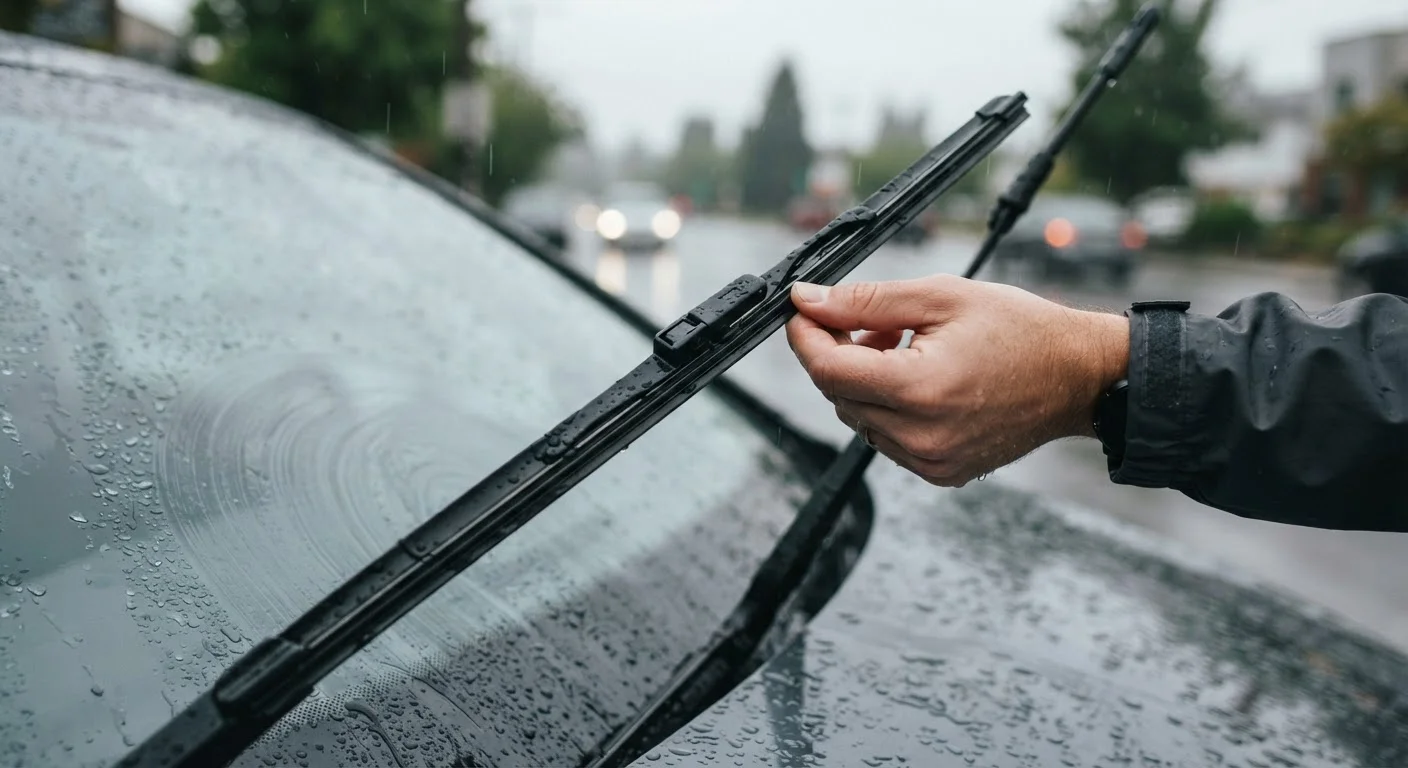
With the car parked and off, lift each wiper arm away from the windshield until it locks upright. Run your finger along the rubber edge of each blade. Look and feel for cracks, tears, stiffened sections, or rubber that has peeled away from the frame. Also check the blade frame itself for bent or broken segments. Even if the rubber looks intact, squeeze it gently - brittle, inflexible rubber no longer conforms to the glass curve and will streak.
Run a functional test on a wet windshield
Spray washer fluid and run the wipers through several full cycles. Watch for streaking (lines of water left behind), skipping (the blade bouncing instead of gliding), smearing (water pushed sideways rather than cleared), or squeaking sounds. Any one of these indicates the blade edge is no longer making clean, consistent contact with the glass. This test tells you what a physical inspection alone can miss.
Identify the correct replacement blade size
Check your owner's manual for the specified blade lengths for the driver side, passenger side, and rear (if equipped). These are listed in inches. Driver and passenger blades are usually different lengths. If you do not have the manual, measure the existing blade from pin to pin. Most auto parts stores also carry printed fitment guides organized by vehicle make and model year.
Identify the wiper arm attachment type
There are several common attachment styles: hook (the most common J-hook), pinch tab, pin, and bayonet. Lift the wiper arm and look at where the blade connects. Most replacement blades come with an adapter kit covering the major attachment types. If you are unsure, photograph the connection before you remove the old blade - it is easier to match when you can see it clearly.
Remove the old blade
With the wiper arm held upright, locate the release tab where the blade meets the arm. Press or squeeze the tab (depending on the attachment type) and slide or rotate the blade off the arm. Hold the arm carefully - if it snaps back against the glass without a blade attached, it can crack the windshield. Lay a folded towel on the glass as a precaution while both arms are blade-free.
Attach the new blade
Slide the new blade onto the arm using the correct adapter until you hear or feel a click - that indicates the locking tab has engaged. Gently tug the blade to confirm it is secure. Slowly lower the arm back onto the windshield. Repeat for the passenger side and rear blade if applicable. Clean the new rubber edge and the windshield with a damp cloth before the first test run.
Run a final functional test
Apply washer fluid and run the wipers through several cycles. The blade should glide smoothly across the full sweep with no streaking, skipping, or noise. If one side still streaks, check that the blade is seated flush against the arm and that the adapter is fully engaged. If problems persist, double-check that you installed the correct blade length.
Do Not Use Wipers on Ice Without Defrosting First
Running wiper blades across a frozen windshield tears the rubber edge and can burn out the wiper motor. Always defrost and clear ice manually before switching wipers on in freezing conditions.
Once you have clear, functional wipers, you are better prepared for adverse conditions - but equipment alone is not enough. Understanding how to adapt your driving in rain and reduced visibility is equally important. The bad weather driving guide covers technique adjustments for rain, fog, and ice. For broader vehicle safety fundamentals, the Driving Skills & Safety hub is a useful starting point.