

Key Takeaways
Why Parallel Parking Feels So Hard
Parallel parking intimidates most new drivers because it asks you to move in reverse, at an angle, in a confined space, while monitoring traffic in multiple directions simultaneously. That's a genuine cognitive load - not a personal failing.
The good news is that unlike many driving situations that require rapid judgment, parallel parking is almost fully within your control. Traffic is stopped or slow, you set the pace, and the sequence of moves is the same every time. Once you've internalized the reference points described in this guide, the maneuver becomes mechanical rather than stressful.
If you're still building broader confidence behind the wheel, our guide to your first solo drive covers how to manage unfamiliar situations calmly. And before you head out to practice, run through the two-minute pre-drive safety check so your mirrors and lights are correctly set.
What You Need Before You Start
Good technique depends on a properly adjusted vehicle and a suitable space. Skipping either step creates avoidable problems.
What you will need
Your vehicle (correctly adjusted mirrors)
Side mirrors are your primary reference for gauging distance to the curb and rear car; set them before starting.
Parking cones or cardboard boxes
Stand in for parked cars during practice runs in an empty lot - safe to bump, zero consequences.
A second person as a spotter
A trusted passenger can watch blind spots and call out clearance, especially useful in the earliest practice sessions.
Step-by-Step: The Standard Parallel Park
The steps below assume a right-side parallel space on a standard US city street. Work through each one in sequence - rushing ahead is the leading cause of misalignment mid-maneuver.
Identify a suitable space and signal
Drive past the space slowly and estimate its length against your own vehicle. If it looks tight, keep moving - a space that's too short will frustrate you regardless of technique. Once you've selected your space, activate your right turn signal to communicate intent to drivers behind you.
Pull alongside the lead car
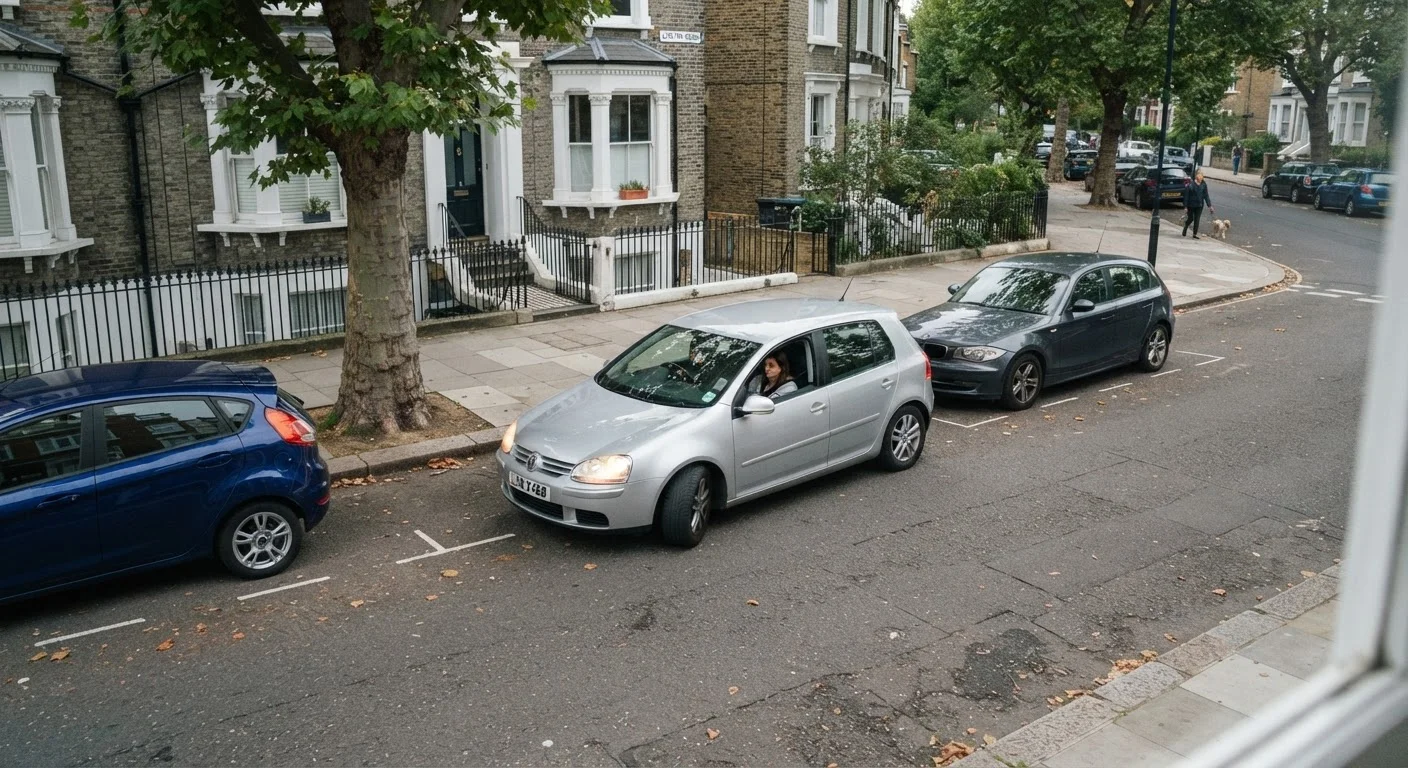
Position your vehicle parallel to the car parked in front of your target space, roughly 2-3 feet to its left (driver's side). Align your rear bumper approximately with the lead car's rear bumper. Come to a complete stop before reversing.
Reverse slowly and turn toward the curb
Shift into reverse and begin moving at a slow crawl - roughly walking pace. As your rear bumper clears the lead car's rear bumper, turn the steering wheel sharply toward the curb (right, in a right-side space). Continue until your car is at approximately a 45-degree angle to the curb.
Counter-steer to straighten
Once your front door is roughly aligned with the lead car's rear bumper - a useful visual reference - turn the steering wheel smoothly back in the opposite direction (away from the curb). This swings your front end into the space while your rear tracks toward the curb. Continue reversing slowly.
Straighten up and center in the space
When your car is nearly parallel with the curb, straighten the wheel fully. Use short forward and reverse adjustments to center yourself in the space, leaving roughly equal clearance to both the front and rear cars. Aim for no more than 12 inches from the curb - in most US states, parking regulations require you to be within 12-18 inches.
Apply the parking brake and check clearances
Once stopped and parallel, apply your parking brake (especially on any incline). Before exiting the vehicle, check both mirrors one final time to confirm you haven't drifted too close to either adjacent car. In most US states you're also required to turn your wheels toward the curb on a downhill slope - check your local DMV regulations.
Practice in an Empty Lot First
Set out four cones or cardboard boxes to simulate the lead and rear cars, then repeat the sequence until each steering input feels automatic. Most drivers need 15-20 repetitions before the reference points feel instinctive. On-street practice becomes significantly less stressful once the basic sequence is already in muscle memory.
Common Mistakes and How to Correct Them
Even with solid technique, the same errors appear repeatedly in early practice. Recognizing them quickly is the fastest path to fixing them.
- Too far from the curb: Usually caused by not pulling close enough to the lead car in step 2. Aim for 2-3 feet of lateral distance at the start.
- Steering too late: If you begin turning the wheel after your rear bumper passes the lead car's bumper, you'll swing wide. Use your chosen reference point consistently.
- Moving too fast: Speed removes your reaction window. At a slow crawl, a steering correction takes less than a second. At normal reverse speed, you'll overshoot before you've noticed the error.
- Not straightening in time: Once the car is angled into the space, drivers often forget to counter-steer. The car straightens when you turn back toward the curb smoothly and early.
Developing situational awareness helps you stay alert to pedestrians, cyclists, and passing cars during the maneuver - not just the space itself.
Watch for Pedestrians Throughout
Reversing drivers are one of the leading causes of low-speed pedestrian incidents in urban areas. Check behind your vehicle - not just in mirrors - before and during every reversing movement. Children, cyclists, and pedestrians crossing between parked cars can appear with almost no warning.